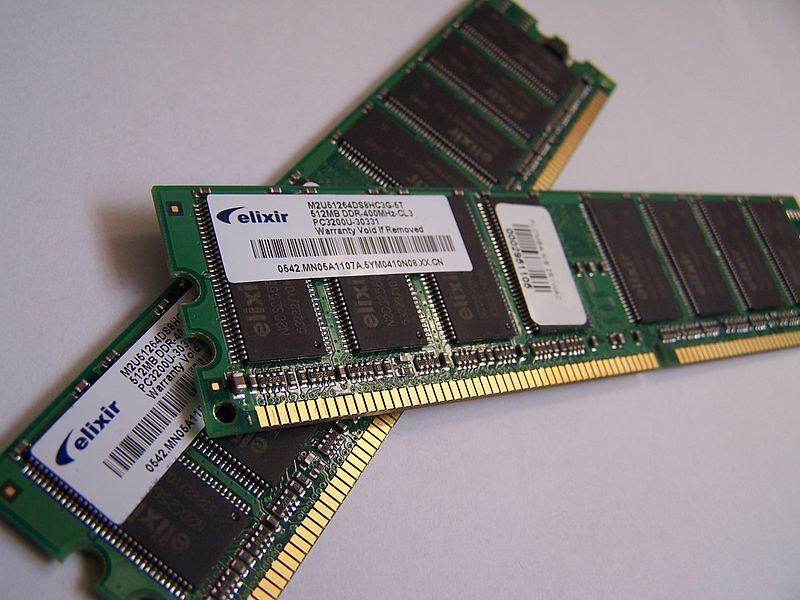
If your RAM goes bad, you may receive various bad memory errors or your computer may behave erratic. Before we talk about how to do a RAM test, let us look at some of the symptoms that may indicate a bad memory situation. But even before that, let us show you how RAM memory chips really look! Here we go:
Symptoms of Bad Memory that will ask for RAM Testing
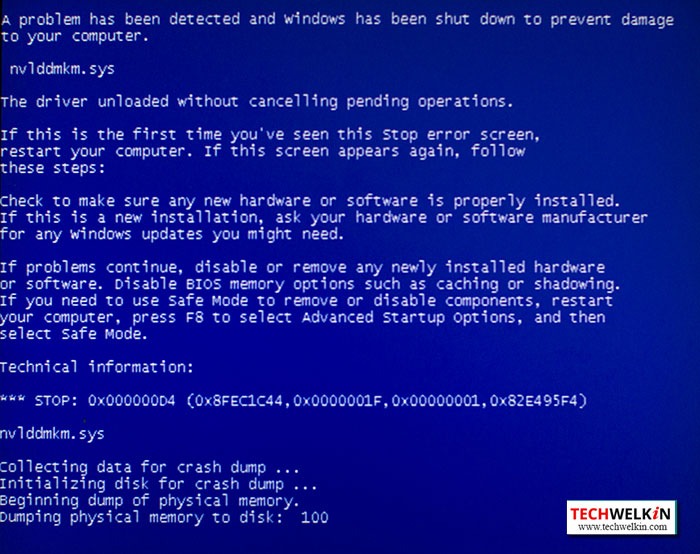
Video playing is not smooth. When you play a video it plays with a jerky motion. Unwanted lines and black areas appear on your screen every now and then. Your computer will stop working and freeze for quite some time which may range from a few seconds to a few minutes. Computer restarts on its own. You’re doing some work and all of a sudden you see that your computer has restarted. This may indicate a memory fault. Your data files get corrupted. Blue Screen of Death: In computer lingo, this phrase is used for a blue screen that suddenly appears and after that your system gets crashed. The screen shows a lot of white text which makes no sense to most of the lay people.
These are only some of the indicators pointing towards memory issues. The above mentioned symptoms could also exist because of other problems but more often than not they entail memory problems and thus require a RAM test. Bad RAM is one of the most annoying problems in computers as it is difficult to ascertain whether a symptom is really being caused due to unreliable RAM chips. RAM testing tools help you find out faults in memory. If these tools find that memory is all fine, then you can focus on other possible causes of unstable computer. RAM testing is not difficult at all. If you’re facing any of the above mentioned problems, you should do a RAM test while trying to identify problem.
How do RAM Testing Tools Work?
RAM testing tools essentially check the integrity of memory by writing data into the memory and then read it back. If the data read during the test is same as was written, then the memory is deemed to be in good shape. A bad RAM memory chip will have some difference between data written into it and data read from the same locations.
Test RAM with Windows Memory Diagnostic Tool
Your Windows operating system comes with a built-in utility for diagnosing memory issues. It’s called Windows Memory Diagnostics.
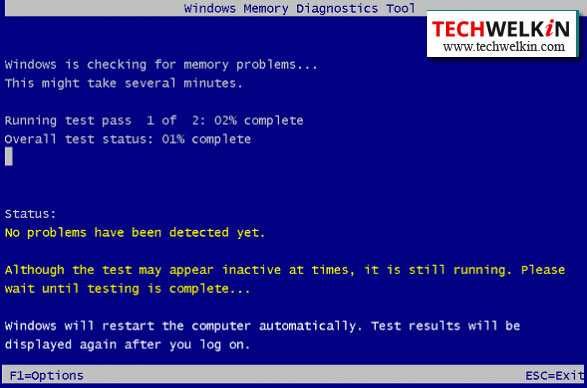
Open Control Panel (press Windows key and R > Run box will appear > type ncpa.cpl and hit enter) Go to All Control Panel Items and then open Administrative Tools Double click on Windows Memory Diagnostic A box will appear with the following options Restart now and check for problems (recommended) Check for problems the next time I restart my computer You can select either of the two options as you like When Windows will restart, it will run memory tests and show you the final results. Testing may take several minutes to finish. You can go and grab a coffee in the meantime. Windows will not require your input during the test.
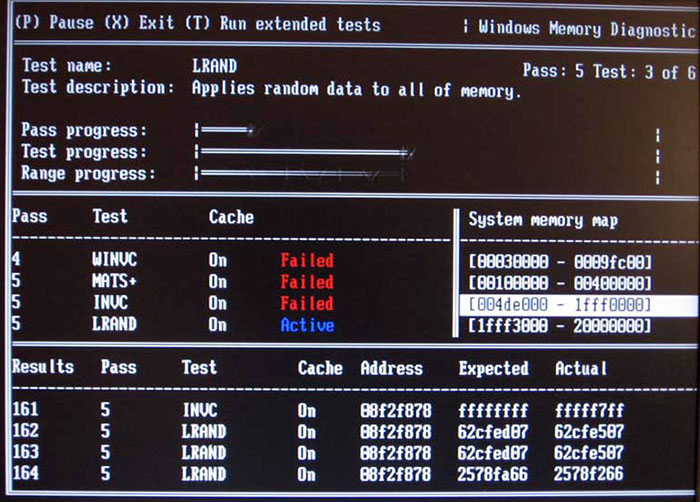
The above screen shows that RAM is all fine and there were no problems found. However, if memory chips fail any of the tests, Windows will show you details results. An example of failed test screen is shown below: If Windows Memory Diagnostic Tool shows any failed tests, you can be sure that the RAM in your computer is not working fine. You may need to change at least one of the chips. When Windows is running tests, it gives you options to select tests that you want to run. To get the options, you can press F1 key as the tests are running. Then you will be able to select test groups named: For most people basic tests are fine. So, you don’t need to do anything. Just sit back and wait for Windows to finish testing. When Windows will finish testing, it will reboot the computer. You’ll login and as the desktop will appear Windows will show you results of the RAM test performed during the restart process. If Windows does not show you the results (for whatever reasons, best known to Microsoft), you can go and check the results yourself.
Finding RAM Test Results from Windows Memory Diagnostic
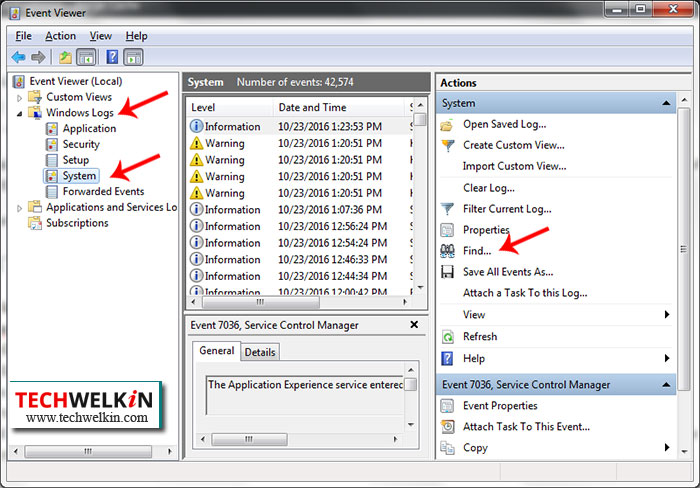
Press Windows key and R to open Run dialog box Type eventvwr.msc in the Run box and hit enter Event Viewer will open up Go to Windows Logs > System This will show you all the logged events pertaining to the Windows system. System Log may to quite big for manually finding something in it. Thankfully, there a Find option to filter the log. Click on Find… and then type MemoryDiagnostic in the find box. This will search the log and find the logged information from the memory test that you had just run.
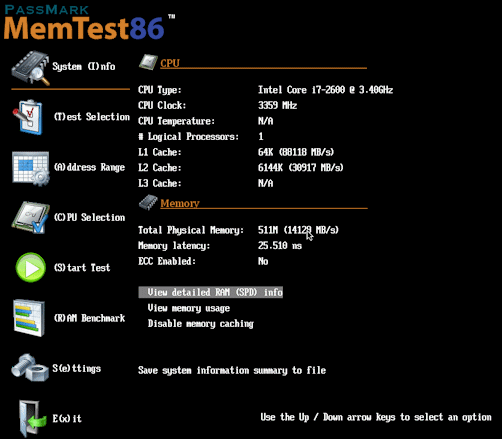
Testing RAM with MemTest86
Windows Memory Diagnostic will be sufficient in most cases. But if you want a more advanced tool that gives you more options for running a RAM test, you can use MemTest86. This software has been developed by PassMark and it is available for free. MemTest86 has a compilation of 13 RAM testing algorithms and therefore it may find faults that Windows Memory Diagnostic may fail to locate. We hope that this tutorial was helpful for you to learn how to run RAM tests. Should you have any questions, please feel free to ask in the comments area. We will try our best to assist you. Thank you for using TechWelkin! Comment * Name * Email * Website
Δ